A Simple Upgrade: Why Window Roller Shades Are Worth It
Window roller shades are one of the easiest and smartest ways to change the look and feel of any room. They help block sunlight, give you privacy, and make your windows look clean and neat. Whether you’re updating one window or your whole home, knowing how to install window roller shades will help you save money and feel confident in your project. Many people think installing shades is hard, but with the right tools and clear steps, it’s something anyone can learn to do.
Roller shades are also great because they come in many sizes and styles. You can pick light-filtering shades, blackout shades, or something in between. They’re also easy to roll up and down. But to get them working just right, you need to make sure they’re mounted properly. This guide will walk you through the tools you need, how to measure, and how to hang your shades the correct way, whether you’re using an inside mount or an outside mount.
Before You Begin: What to Know About Shade Mounting
Before you start drilling or putting up brackets, it’s important to know how roller shades work. Roller shades are made of a fabric panel that rolls around a tube. The tube fits into mounting brackets that are either inside the window frame or on the wall above it. That’s why understanding the type of shade mount you want is the first step.
There are two main types of shade mounts:
- Inside mount: The roller shade fits inside the window frame. This looks clean and built-in.
- Outside mount: The roller shade is mounted on the wall above or around the window. This covers more space and is good for shallow frames.
Each mount style has its look and purpose. Inside mounts are sleek and minimal. Outside mounts are bold and give better light coverage. Deciding this early will help you measure and choose the right brackets later on.
How to Install Window Roller Shades: Step-by-Step Guide
Now, let’s get into the steps for how to install window roller shades. The good news is you don’t need to be an expert. Just follow each part carefully:
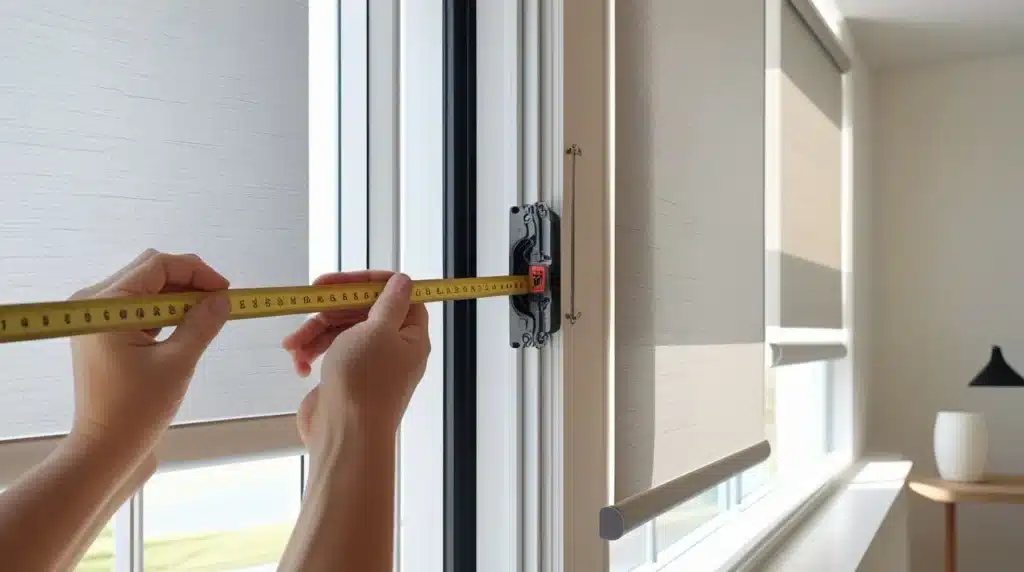
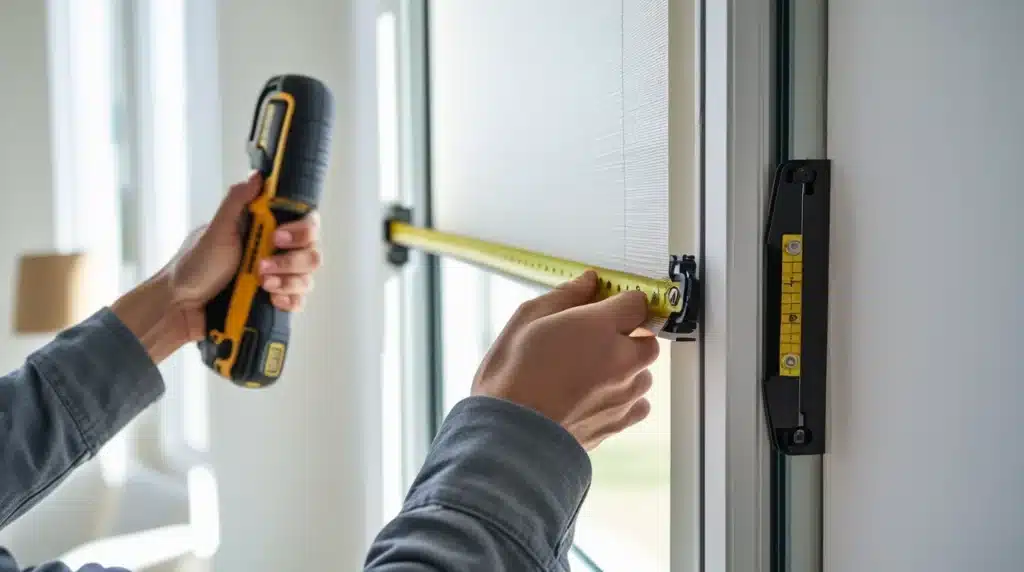
- Measure the window: Decide if you want an inside or outside mount. Measure the width and height of the window in three places (top, middle, bottom for width; left, center, right for height). Use the smallest width and largest height for inside mounts.
- Mark where the brackets go: Hold the brackets up to the spots where you want the shade to hang. Use a pencil to mark where the screws will go.
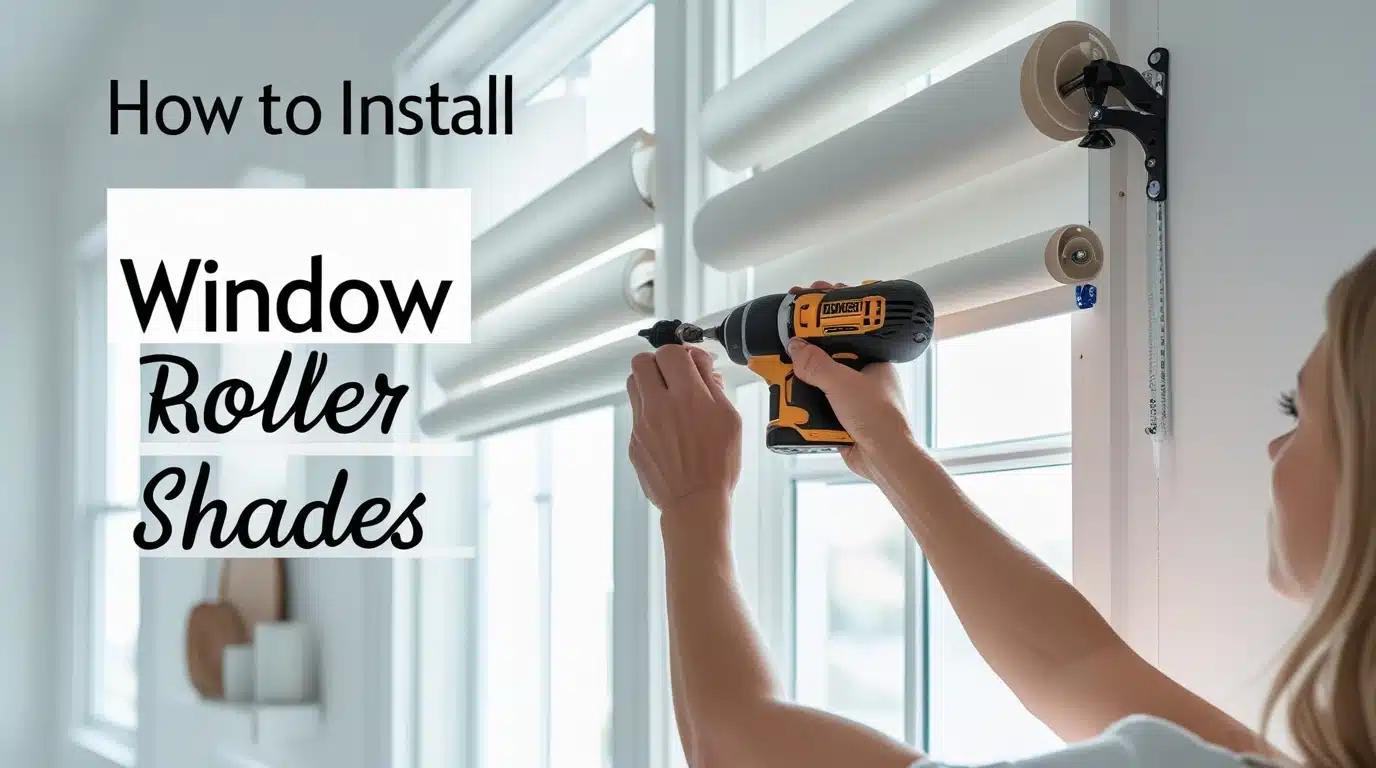
- Drill pilot holes: Using a drill, make small starter holes where you marked with the pencil.
- Attach mounting brackets: Line up each bracket and screw them in using a screwdriver or drill. These will hold the roller tube.
- Insert the shade: Slide the roller shade into the brackets. One side will usually have a pin, and the other a spring mechanism. Follow the instructions that come with your shade.
- Test the shade: Pull it down and roll it up to make sure it works smoothly. If it’s crooked or hard to pull, double-check your bracket alignment.
That’s it! Your shade is now installed.

Inside vs Outside Mount: Which One Is Right for You?
People often wonder: mount blinds inside or outside the window frame? There isn’t one right answer—it depends on your space.
- Inside mounts look tidy. They let more window trim show. But you need enough depth in the frame to fit the roller shade hardware.
- Outside mounts are easier to install in most cases. They cover more of the window and block more light. They’re also great for windows with shallow frames or odd shapes.
Some people also search inside versus outside or inside vs outside mount when comparing. Just remember: inside is more built-in; outside is more flexible. Take a look at your window and decide what look and function you want. That will guide your mounting choice.
Tools and Window Shade Mounting Hardware You’ll Need
Before you start installing roller shades, get your tools and hardware ready. Here’s what you’ll need:
Tools:
- Steel tape measure
- Pencil
- Drill
- Screwdriver
- Level (to make sure the brackets are even)
Hardware:
- Window shade mounting hardware (usually comes with the roller shade)
- Mounting brackets for roller shades
- Screws and anchors (for drywall installs)
- Roller shade mounting bracket for the spring-loaded or clutch mechanism
Having all the tools nearby will save you time and help the project go smoothly. If you’re missing something, check the shade package or ask your local hardware store.
Installing Roller Shades with Inside Mount Brackets
Inside mounts offer a clean, custom look. Here’s how to install with inside mount brackets for roller shades:
- Measure depth: Make sure your window frame is deep enough. Most roller shades need about 1.5″ of depth for a flush mount.
- Position brackets: Place them at the top corners of the inside frame. Make sure they’re even.
- Mark screw holes: Use a pencil to mark where the screws will go.
- Drill and install: Use a drill to make small pilot holes, then screw in the brackets securely.
- Insert roller: Slide the shade into the brackets. One side will be fixed; the other may have a spring or clutch.
- Check operation: Test the shade to make sure it rolls up and down evenly.
These steps also apply when you’re mounting roller shades for other rooms, like bedrooms or kitchens.

How to Hang Roller Shades Inside Mount Like a Pro
Here are some tips for how to hang roller shades inside mount with a polished look:
- Use a level to make sure your brackets are straight.
- Don’t overtighten screws—this could crack the frame.
- If your shade is hard to roll, adjust the tension or check the alignment.
If you’re unsure about your window frame depth, check with the manufacturer. Some roller shades offer shade mount options that are made for shallow frames. That means you can still do an inside mount, even if your window is narrow.
How to Install Roller Shades Outside Mount with Confidence
When working with an outside mount, follow these steps using outside mount brackets for roller shades:
- Measure width and height: Add 2-3 inches to each side and above the window to block light fully.
- Mark bracket placement: Use a pencil and level to make sure both brackets are even.
- Drill holes and insert anchors: This is important if you’re drilling into drywall.
- Screw in brackets: Tighten the screws securely but don’t overtighten.
- Attach the shade: Insert the roller into the brackets, starting with the pin end.
- Test: Pull the shade down to see how it moves. Make any needed adjustments.
Outside mounting blinds can be a great way to cover old trim or uneven windows. They also help reduce glare in living rooms or home offices.
Hanging Roller Shades Outside Mount: Final Adjustments
You’re almost done! Here’s how to get a smooth finish when hanging roller shades outside mount:
- Check levelness again. Even a small tilt can cause uneven rolling.
- Adjust the tension if the shade won’t roll up easily.
- Add hold-down brackets at the bottom if you want the shade to stay in place (especially helpful for doors).
Sometimes people use the term mounting roller blinds when describing this part. It means the same thing as shades, and the steps are very similar.

Mounting Roller Shades in Pearland Homes: Local Tips from Made In The Shade Space City
Pearland homes often have a mix of window sizes, from large living room windows to narrow bedroom ones. Each window needs its measurements and hardware. At Made In The Shade Space City, we’ve installed shades in all kinds of Pearland homes. We know how to work with shallow frames, high windows, and unusual wall materials.
Some homes need special anchors. Others benefit from blackout shades that block Texas sun. No matter the case, the key to success is careful measuring, planning, and using the right tools. Our team can help with all of this, or we can walk you through it step-by-step.
Final Thoughts on Mounting Roller Shades
Installing roller shades might seem tricky at first, but with a little planning and the right tools, it’s a task most homeowners can handle. Whether you choose an inside or outside mount, the most important part is measuring correctly and using the proper brackets. Pay close attention to leveling the hardware and testing the shade after installation.
This guide was created to make the process simple, whether you’re updating one room or your whole home. Take your time, follow each step carefully, and your shades will work smoothly and look great.
Contact Made In The Shade Space City for expert help, local support, and custom-fit window treatments that are easy to love and simple to use.


